|
|
Post by madmatt on Aug 13, 2012 9:33:21 GMT -5
That depends on your definition of progress...
As I don't have a lot of storage space, the car spent the winter a long way away... I just brought it back. The hope is to have it tuned for this years' Tall Pines in the end of November. That's a long time from now I know, but my time these days is pretty limited. I hope to have it tuned by the end of September, and then we can actually spend some time testing.
I think in retrospect, one other issue may have been ignition! We upped the compression, put in a huge cam, let the motor breath, and then were trying light it off with a 25 year old coil! I'm sure it was rich too, but I also plan to upgrade the ignition.
I will keep updates coming as progress is made, but likely nothing until early September.
Matt
|
|
|
|
Post by hippy on Mar 10, 2013 11:58:28 GMT -5
WE ARE NOT WORTHY! WE ARE NOT WORTHY! WE ARE NOT WORTHY!
|
|
|
|
Post by madmatt on May 9, 2013 12:57:46 GMT -5
Mangus' (Blacklight) build page inspired me to post some piccies over here. Seems we are moving at about the same pace rebuilding blocks to match the Ferox avatar pic.... Drool Mine is probably a bit more getto, but getting there slowly. Crank ground .20 over, rods bored, pistons and rods static balanced 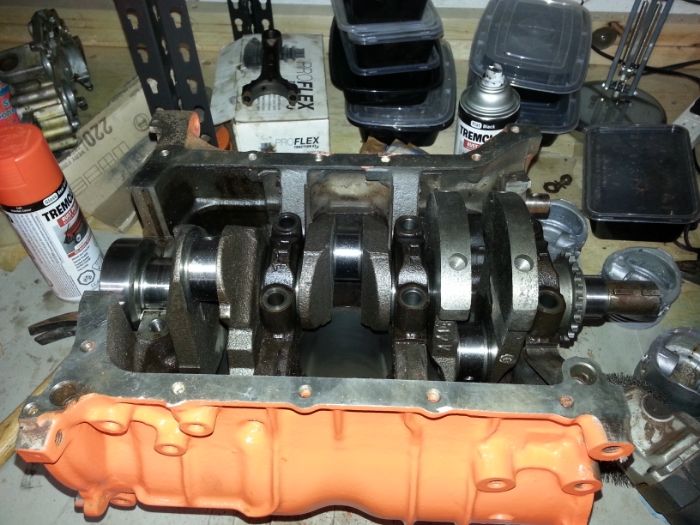 Windage tray fabbed from some sheet metal 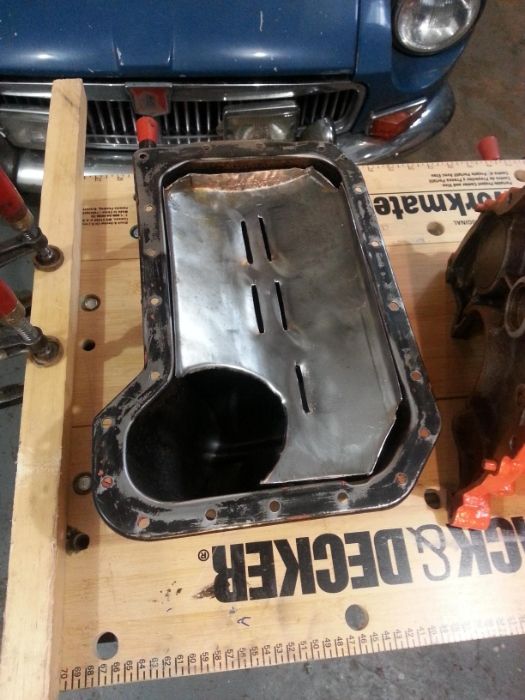 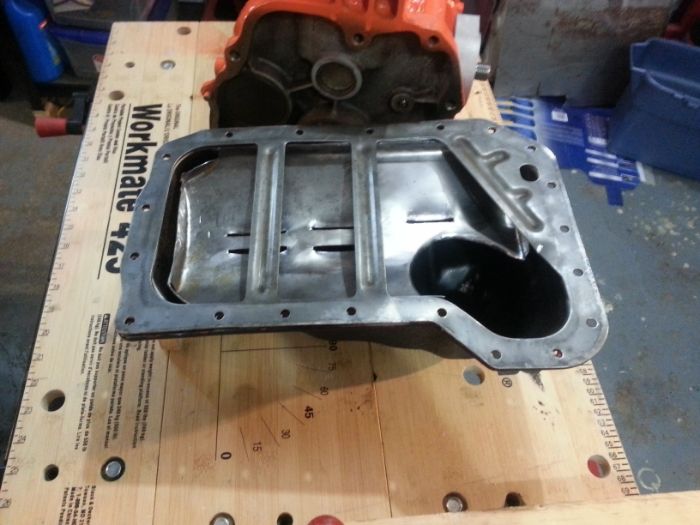 Not so bling as Blacklights... but oil cooler spin on adapter 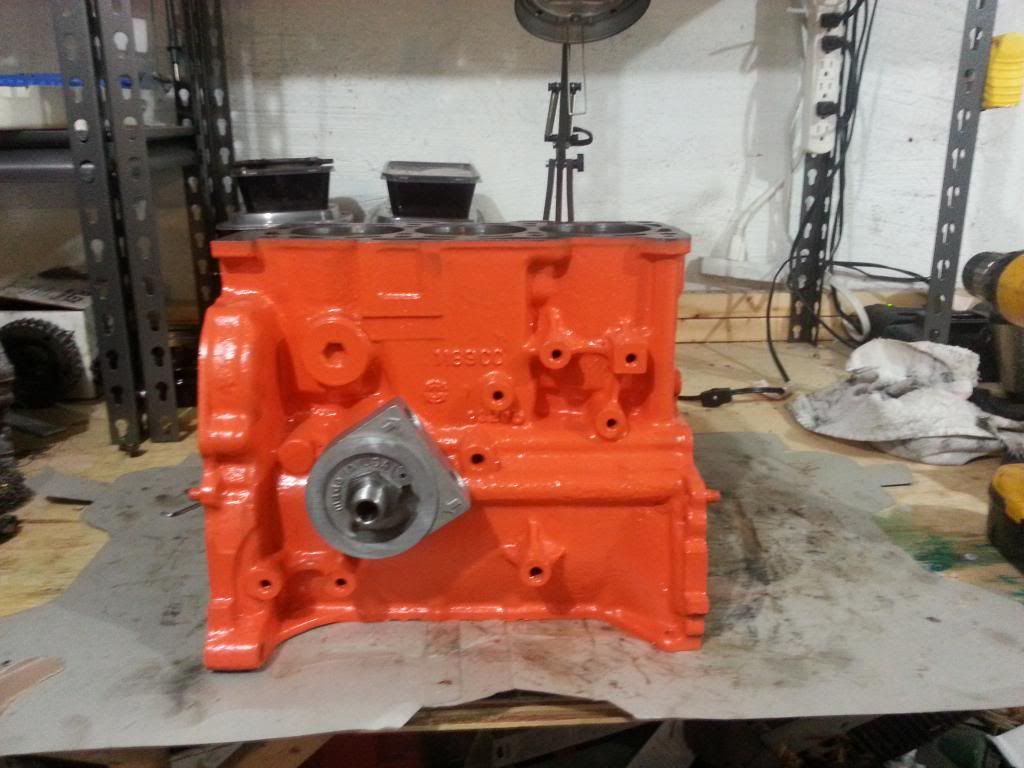 Honed cylinders, and surfaced deck, scrubbed the block, rifle brushed the oil galleries, yadda yadda 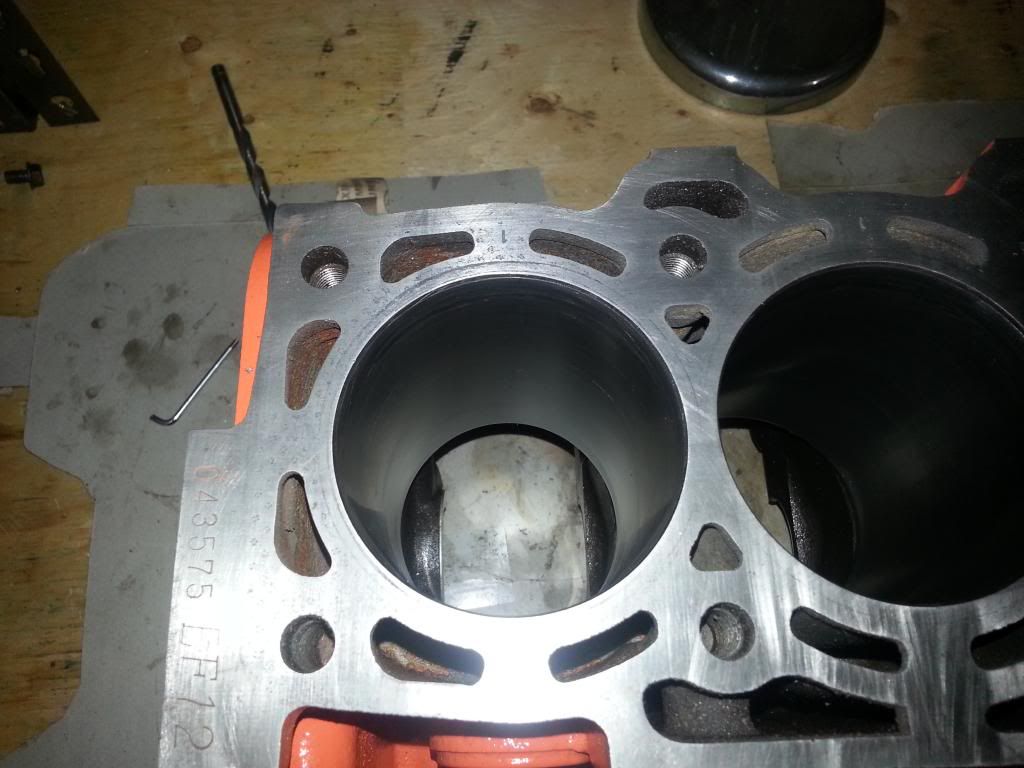 The awesomeness that will be three cylinders of fury! 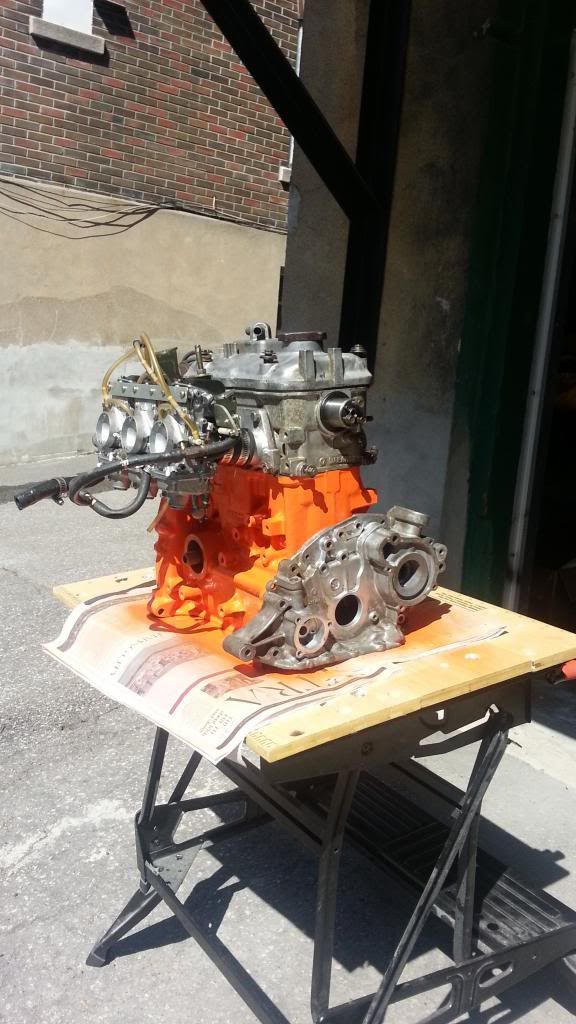 Rings (same hastings set as Mangus) and KING bearings showed up last week. Just need crank seals to show up now before I can start reassembly. I found an oil pump housing in not bad shape amongst my spared, and rather then the bushing mod, I am going to try the oil gallery add in. I have a new pump from the dealer. We were planning to run Tall Pines last November , so I'm only 5 months behind schedule! |
|
|
|
Post by blacklight on May 15, 2013 17:52:17 GMT -5
Ah... I really love seeing an old machine get new luster. <3 Would be great fun to polish the crankcase cover and the cylinder head to full bling-bling.  |
|
|
|
Post by madmatt on Sept 20, 2013 7:59:41 GMT -5
So I should really update... Mangus beat me, but still moving forward. Progress report: Drink beer and weigh pistons, rods, and get them within 0.01 grams! Oh yeah and NEW rings!!!! What a concept. 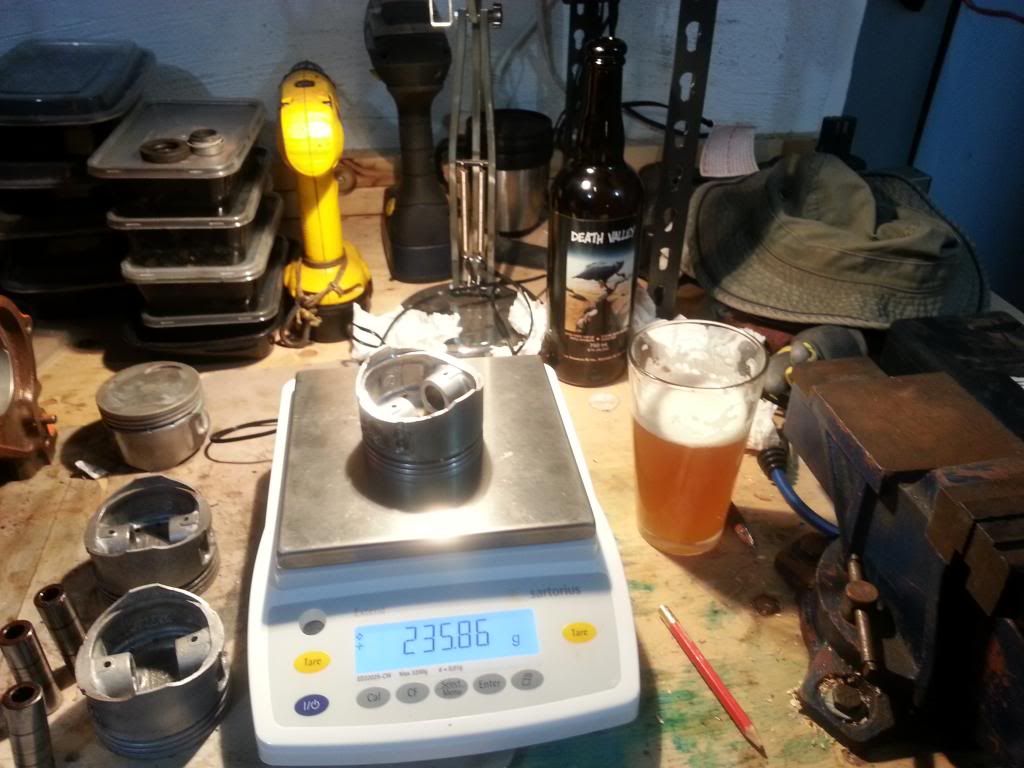 Fix a machine shop screw-up by hand... take .02" off the crank thrust surfaces by hand... 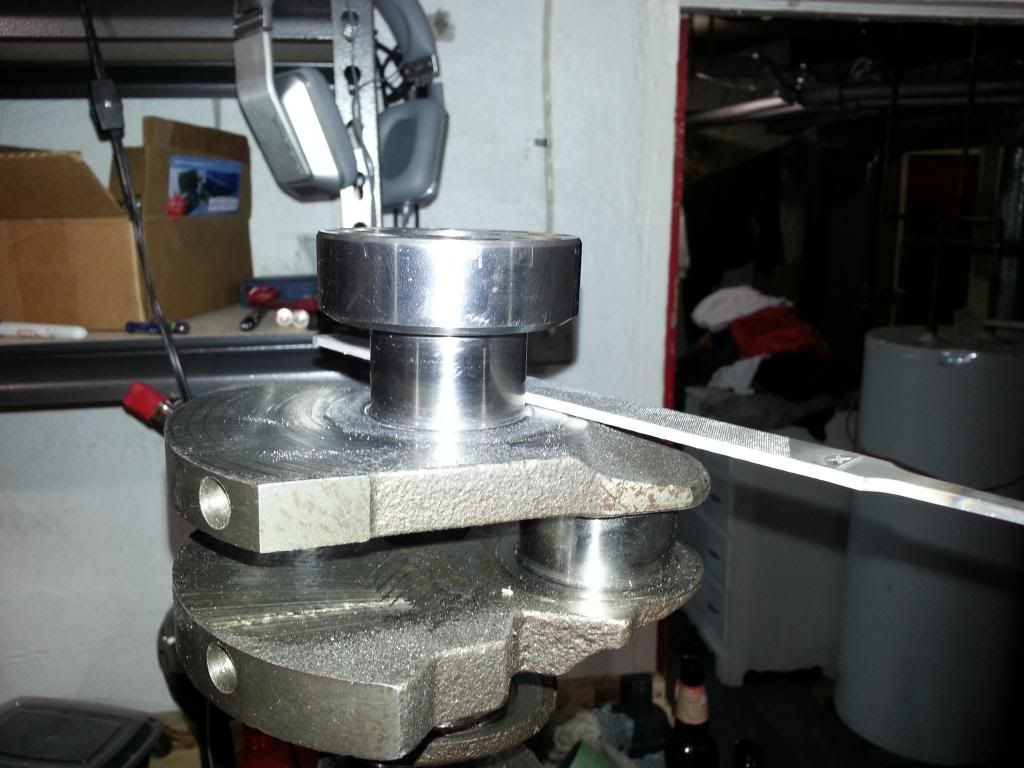 Install the fresh crank, and actually check the clearances... 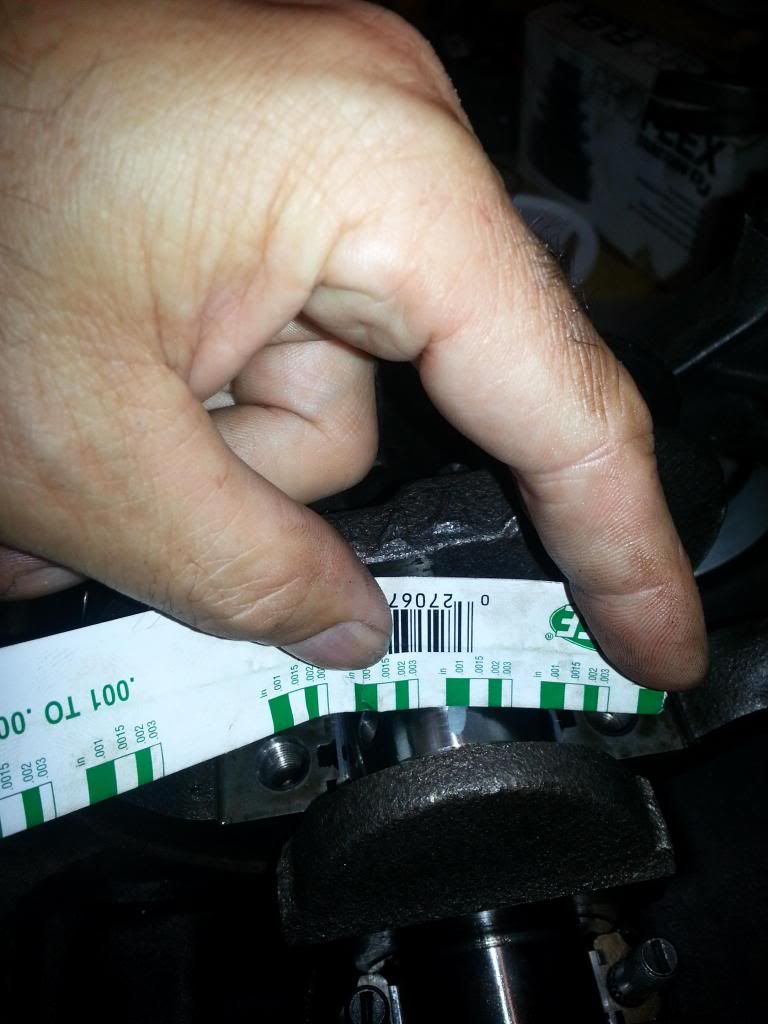 Work on raising a new driver...  Add an oil gallery to the oil pump shaft housing, basically I drilled a hole from the pressure side of the pump housing through the housing to the pump shaft bore. Then took my dremel and formed a oil gallery to feed the shaft. 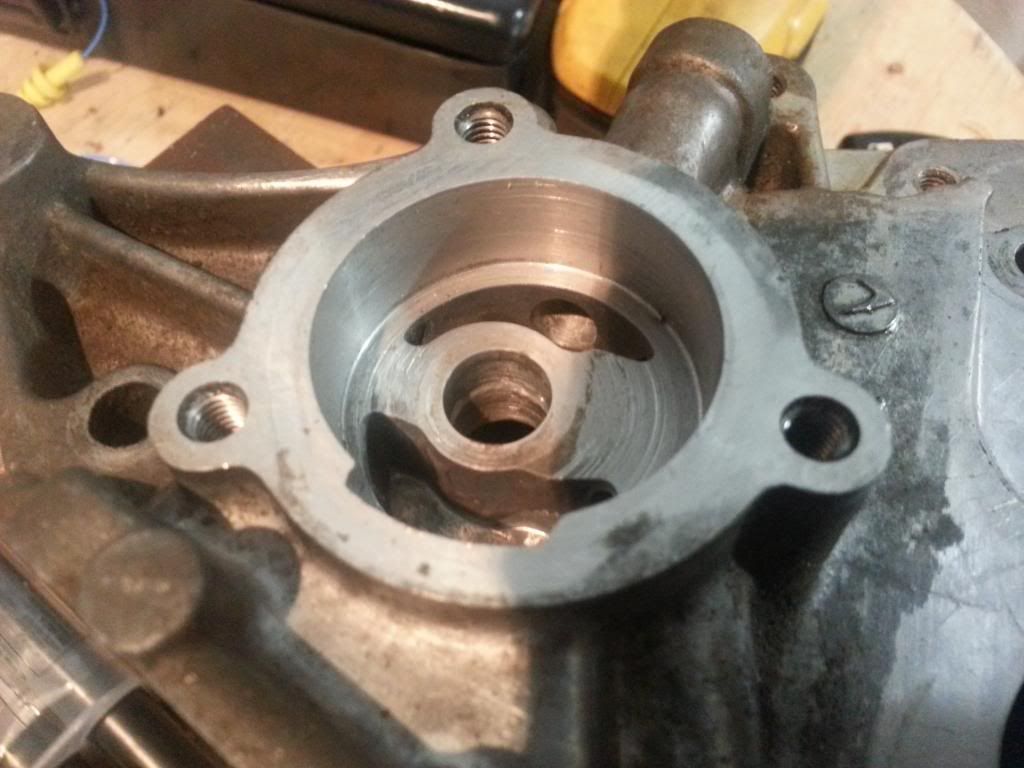 Scavenge a nice oil cooler from the "rally car parts warehouse" otherwise known as the junk yard... 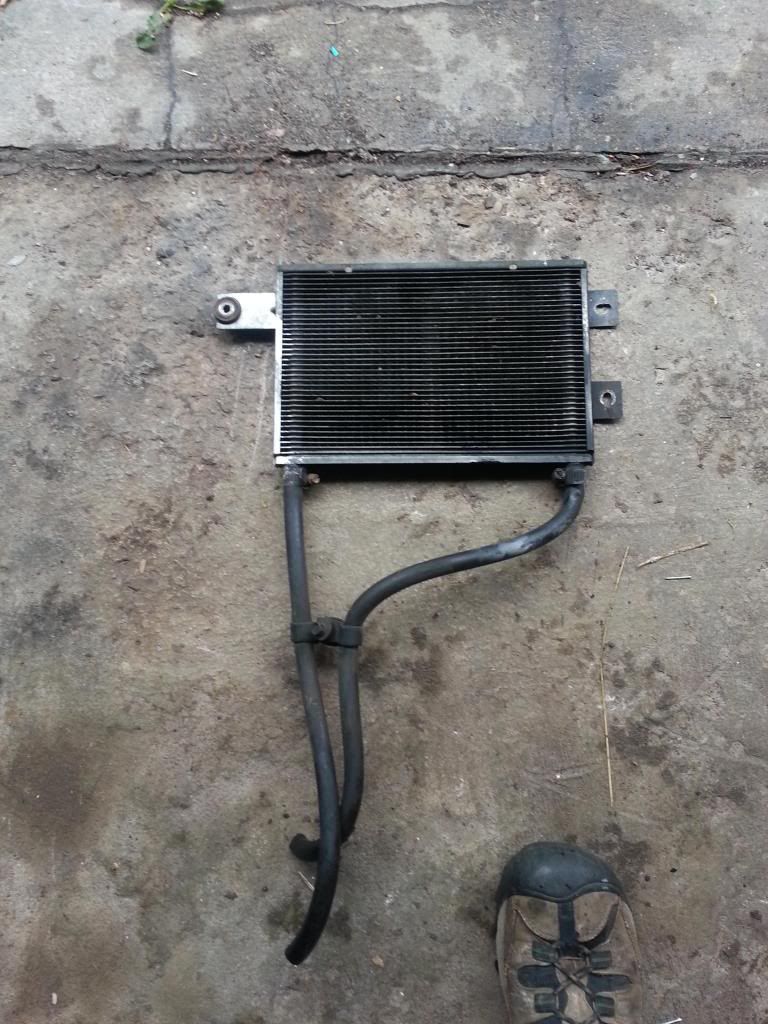 Install new valve guides, no sense losing oil down the guides... oh, I need a valve spring compressor, I made one with a c-clamp and a piece of electrical conduit. 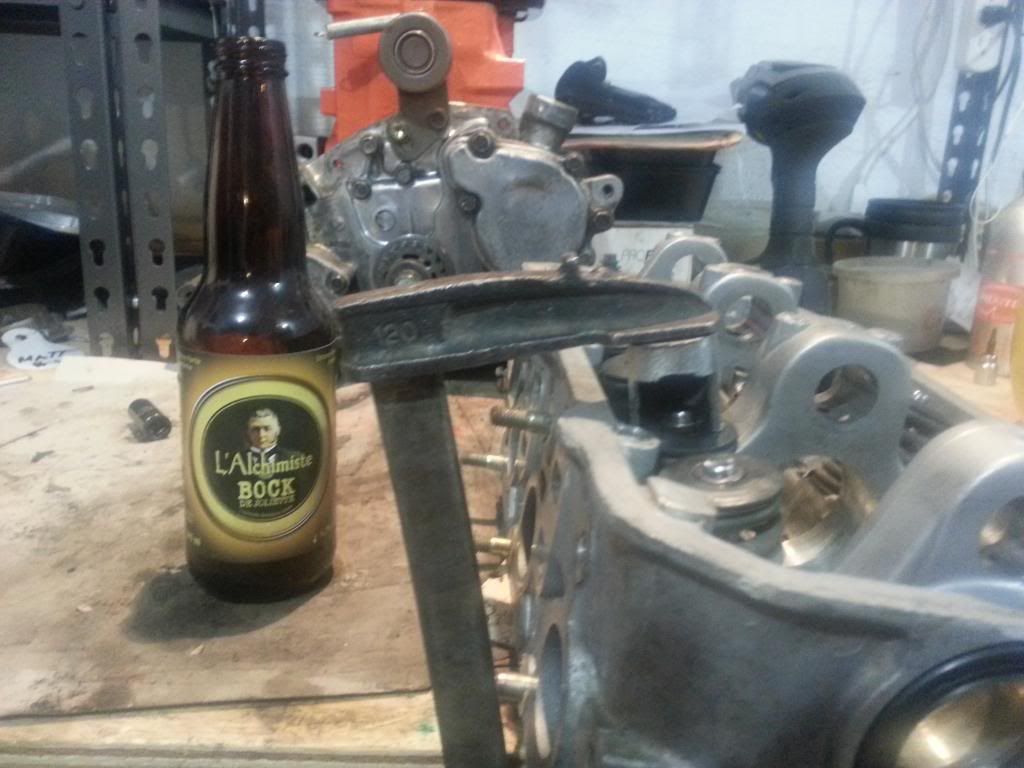 We had always skimmed our heads in the past... in an attempt to raise compression ratio from the stock 9:1. I cc'd one of those heads (the one we are currently using) and worked out the comp ratio. A whooping 9.2:1... that leaves a lot on the table... so... back to the machine shop it went, and had 1.4 mm taken off. Calculated compression ratio is now 10.2:1 YEE HAAAA 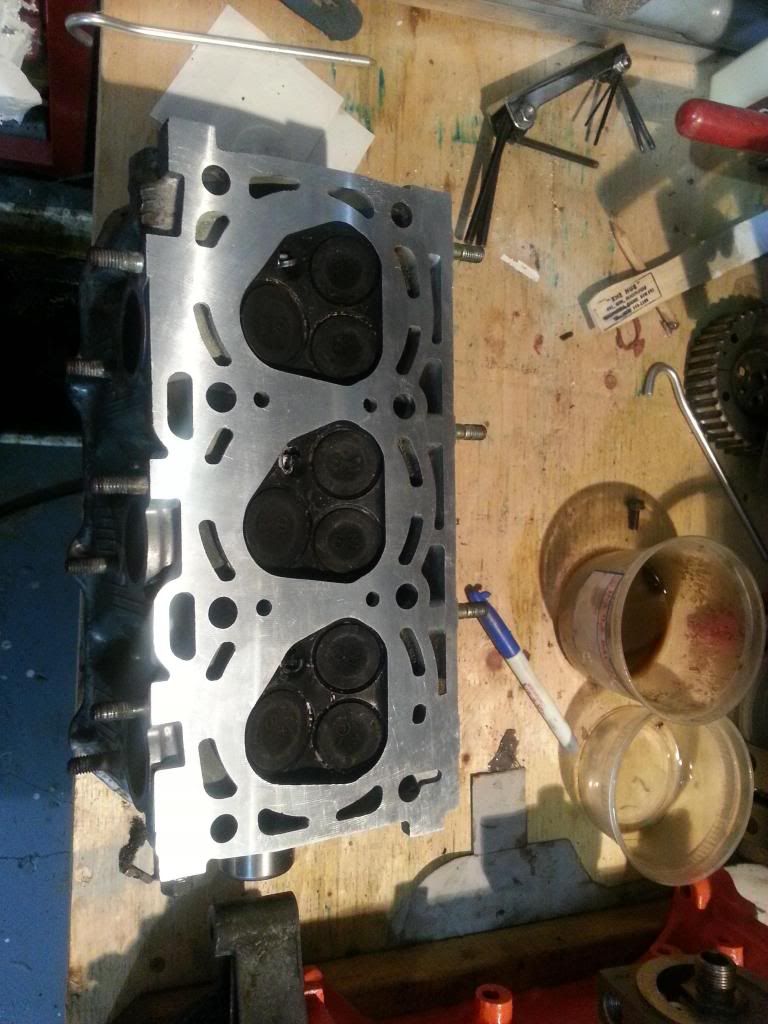 Then I got worried about the block... and sealing all that power! So I hand filed it to .002" within flat by hand! In fact it's better then that, and there are only 2 spots that are low, probably .0015" or so, as 0.002 is my thinest feeler, and there's quite a bit of drag in the 2 places I can squeeze it in... 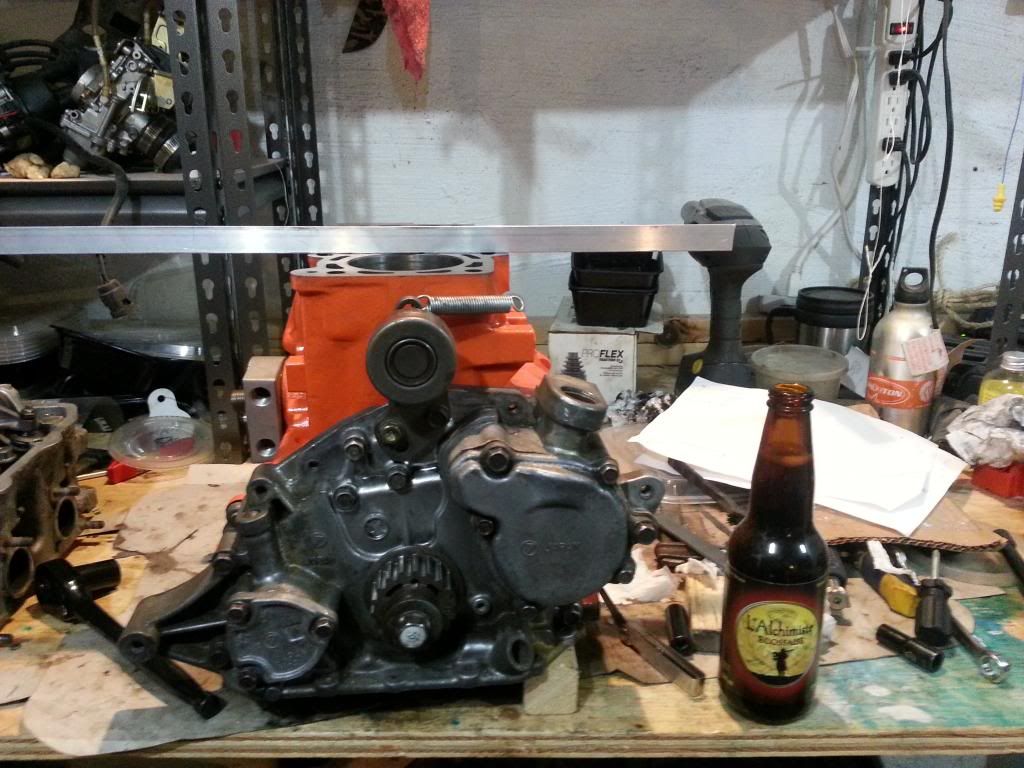 Using a sharpie to find low spots.. 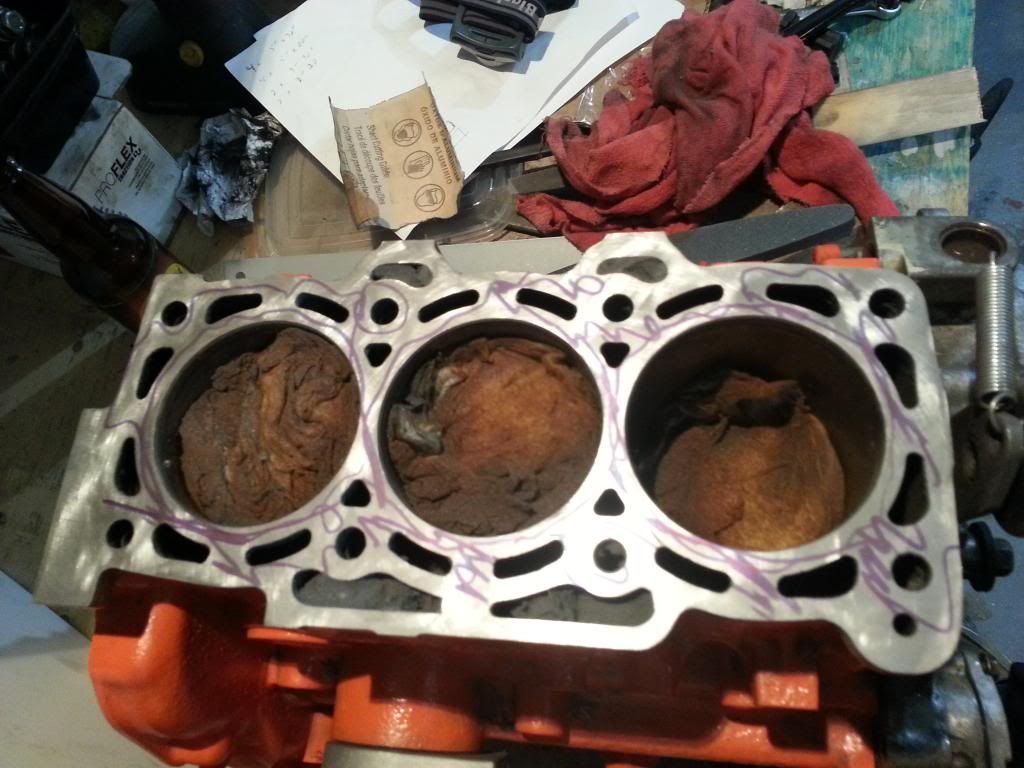 But then I was still a bit worried about the surface roughness... so I picked up a nice sharpening stone and went to town... 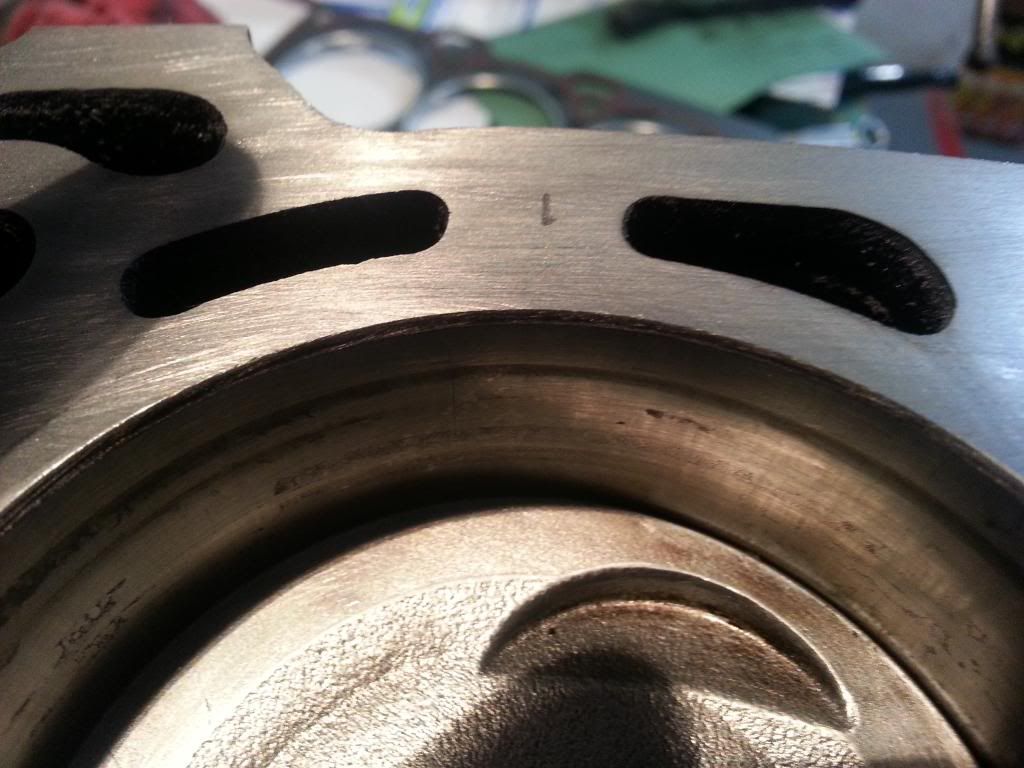 1.2l of fire breathing fury goes in the car next week!  |
|
|
|
Post by justyjuggler on Sept 24, 2013 22:00:15 GMT -5
nice .01 scale!
|
|
|
|
Post by madmatt on Sept 25, 2013 0:56:07 GMT -5
Lol... yes, it is a nice scale... borrowed from the lab. Wish it was mine. As for an update... I'm a friggin idjit... Go back to the bottom of page 2... Where we tried to run Pines with the mighty triple carb set up, and had no luck due to being short on time. All along I figured main jets were way to rich, but I never actually took the bowls off and checked - wait for it, wait, come on... think "what did he miss?".... IF THEY WERE THERE!!!!!!!!!!!!!!!!!!!!!!! Two carbs had the mains floating in the bottom of the bowl! The other is missing completely! FAWK! If all goes well I'm planning to tune the beast this weekend, so a couple of nights ago, I popped to fuel bowls to "see what I am starting with" First bowl off and the jet fell out on the table. I thought "hmmm well, maybe, but there were still two other cylinders that would have pulled it through a bit" Open the next one, same friggin story! Open the third, NOT EVEN IN THE BOWL! Free carbs are exactly that, free carbs... However, while ticked we wasted so much time, and money 2 years ago, I go forward with up lifted spirits, and dreams of kicking 2L butts. Justy on... |
|
|
|
Post by gearheadeh on Sept 25, 2013 16:43:34 GMT -5
Nice seeing pictures of an engine that will be used in anger( Racing)
Here's hoping for a result over 100, hell over 80 ponies would be great!
Check your P.M.'s
|
|
|
|
Post by madmatt on Sept 28, 2013 0:05:51 GMT -5
Well the insanity continues... Today I got some hefty time in the shop, and went to town on a header... A friend gave me a 4AGE tube header for free99, and I went to town on it.  But then I realized if I was going to do this I needed an engine stand... so I made one with some 1" box... It is just bolted to the tranny mounts, and the support is just bolted so I can fold them up and they lay flat. Can't turn the motor over, but I can work around it... 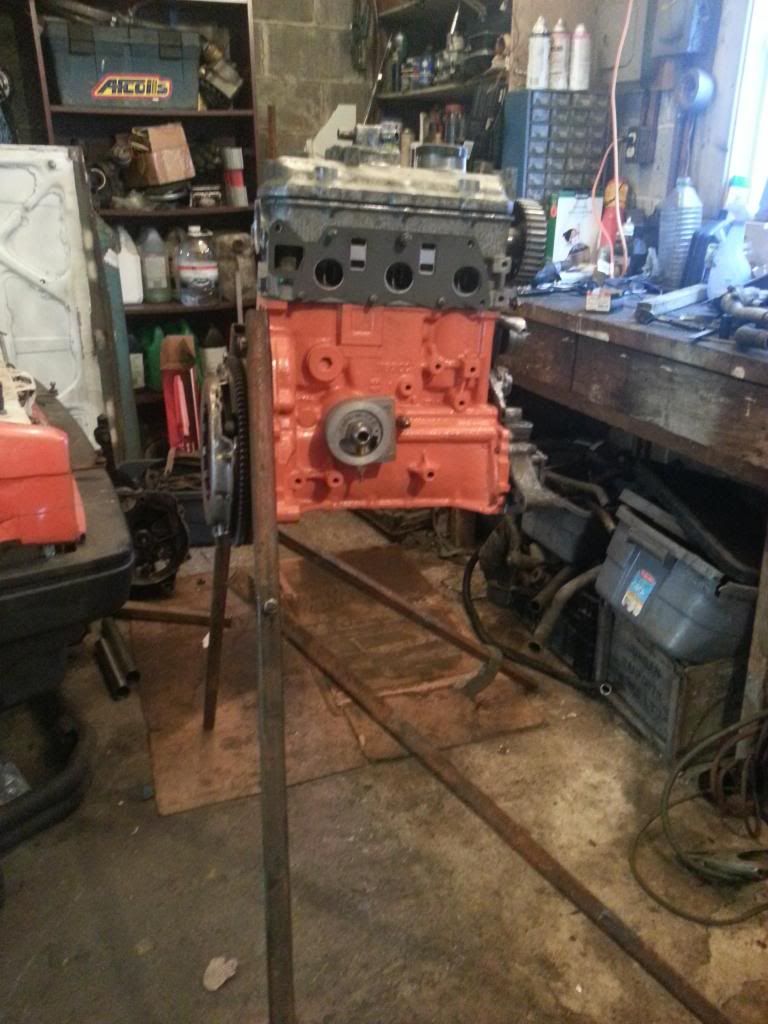 Hacked the flange of a stock manifold... I know it's cast, I have some ideas... 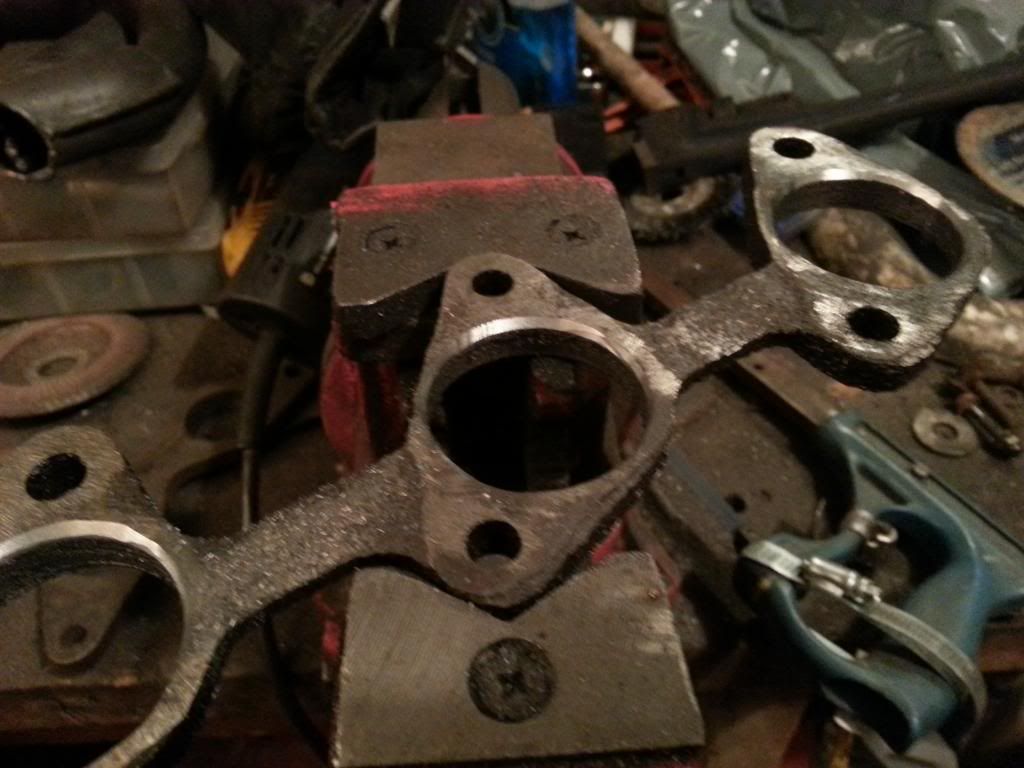 took the chopped up header, some 1.5" stainless, and put it all together  I ran out of gas for the welder... so mind the splatter from the flux core and my awesome welding abilities... 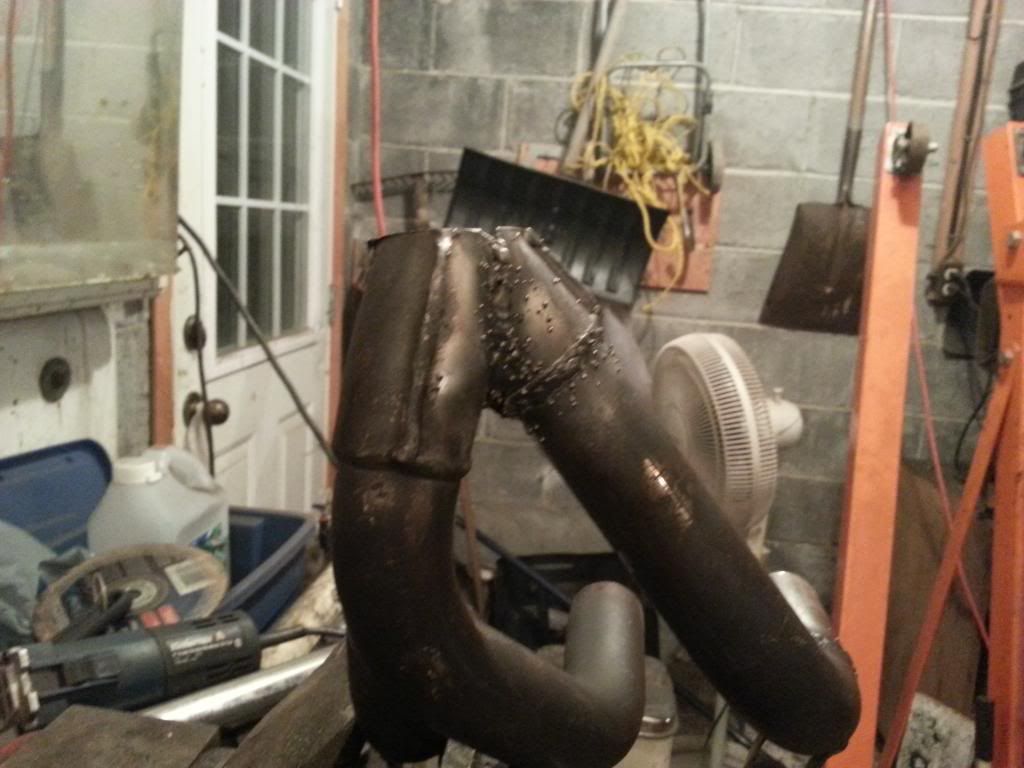 finished product, 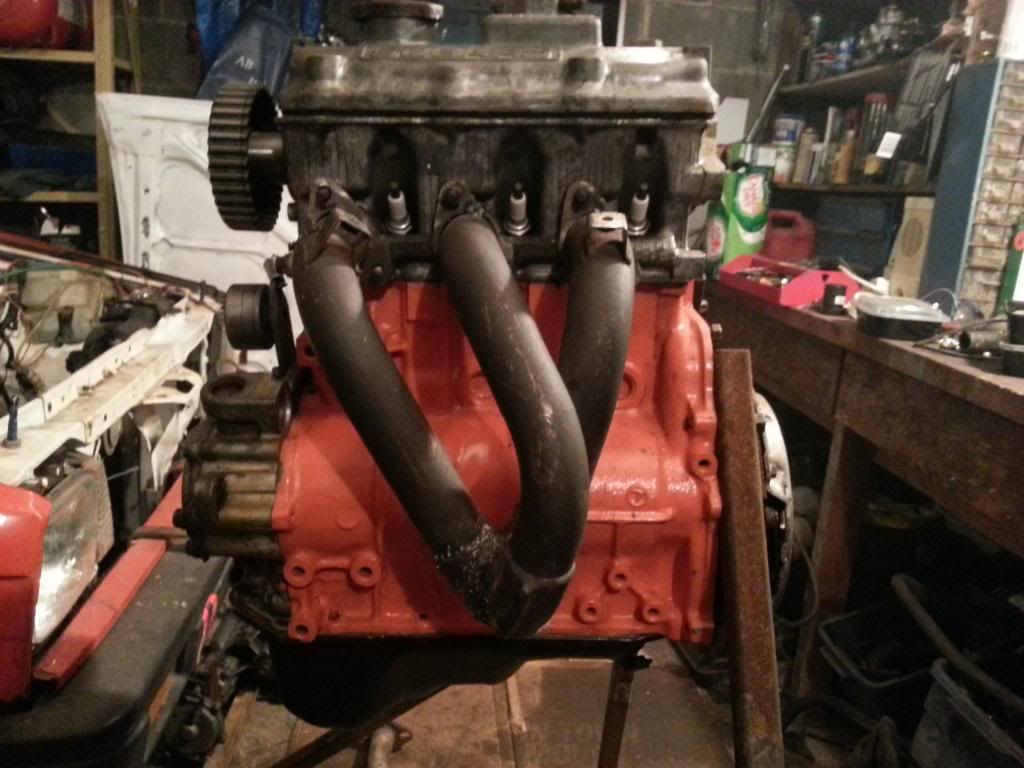 The 1.2; Fire breathing dragon! 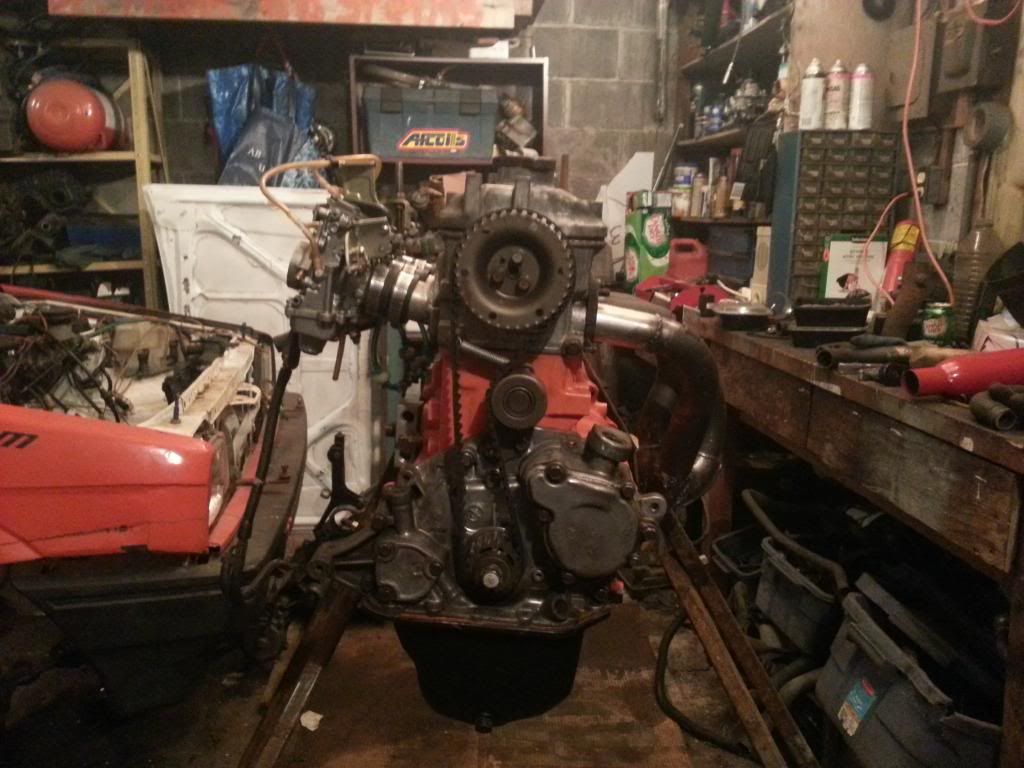 Also have a Civic rad, this is a nice little upgrade and I think well suited to our needs, quick to change too... 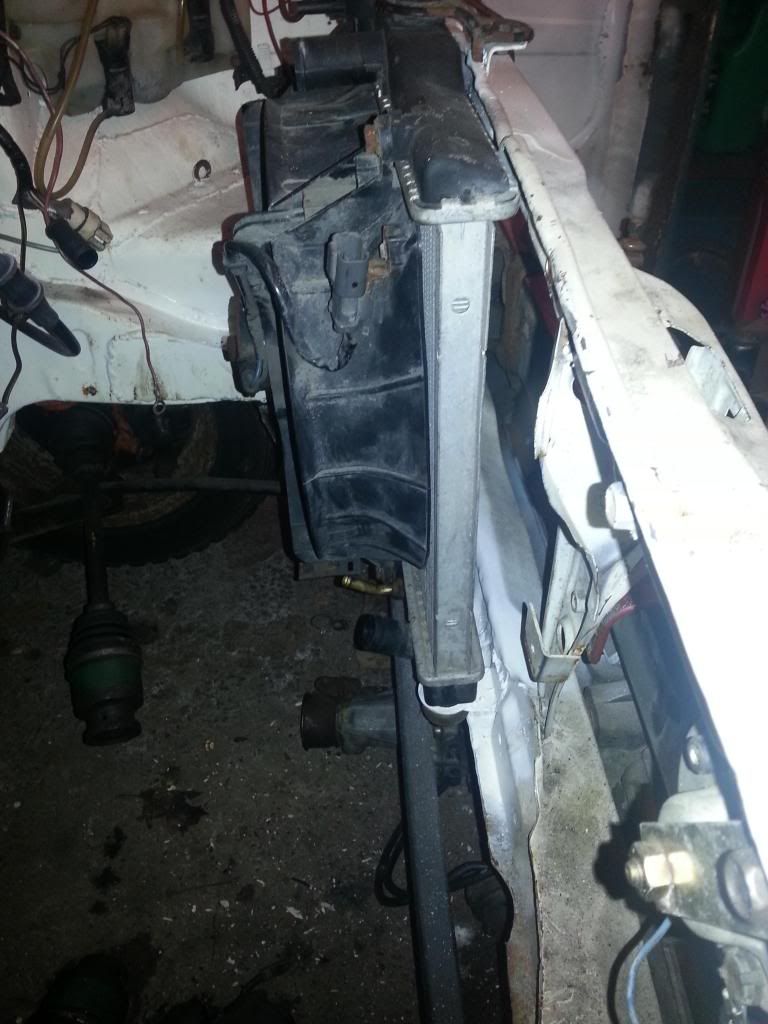 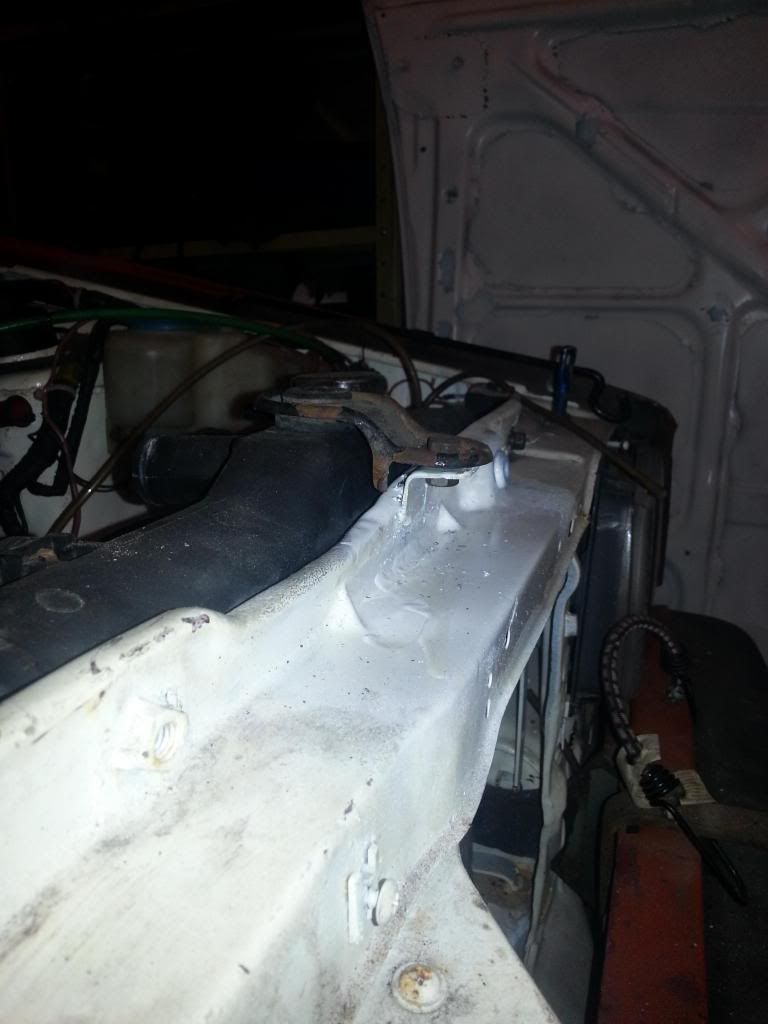 |
|
|
|
Post by madmatt on Sept 30, 2013 20:59:47 GMT -5
minor update...
Motor in, not ready to start, but, but, but...
20lbs of oil pressure on the STARTER!!!! on 10-30 oil!!! Yee haw! Just turned it over to prime the pump, and bam! it shot up to 20lbs in no time,probably would have kept climbing, but I didn't want to kill the battery/starter. Also battery in the back for weight distribution, and too light of gauge wire currently, need to re-do that.
|
|
|
|
Post by santaclaw on Oct 2, 2013 11:40:03 GMT -5
3 Questions. 1. What camshaft are you using ? I'm thinking of having mine done by www.dbilas-shop.com Did you do anything special, I'm thinking of the very restrictive stock manifold, I understand that removing it for a set of headers will cause problems due to the stock camshaft being made with a lot of overlap for the extra resistance in flow ? 2. What inlet manifold are you using ? Did you just use the stock "plate" and tig weld new funnels ? 3. What Carbs are you using ? I'm also considering sending my head to www.cncheads.co.uk for a total package with a new cam and machining of the head. |
|
|
|
Post by madmatt on Oct 2, 2013 12:23:22 GMT -5
Hi,
First off still in the build phase, so who knows if this will all work out!
The cam is from Delta Cams in Seattle,
This is the spec
Modified:
Intake
Valve Opening = -2.4 'BTDC
Lobe Center = 108.2 'ATDC
Valve Closure = 26.4 'ABDC
Duration = 204 Crank Deg
Max Cam Lift = .20673 IN.
Net Valvelift = .3101 IN.
Lobe Area = 16.34 IN. *Deg
Exhaust
Valve Opening = 29.3 'BBDC
Lobe Center = 109.4 'BTDC
Valve Closure = -2.4 'ATDC
Duration = 206.8 Crank Deg
Max Cam Lift = .21142 IN.
Net Valvelift = .31713 IN.
Lobe Area = 17.35 IN. *De
It was an in house spec they had, not crazy, but more lift and longer duration.
I am using the Fuel injected head, and yes, the intake manifold plate with water inlet intact and the intake runners cut of and short aluminum tubes welded on, You can use the carb head, but you must set up the water jacket which is a ton more work.
The carbs are Mikuni TM33 flat slides, the TM line is a pretty tunable race oriented carb. Mine do not have the pumpers on them.
I have a Wideband sensor to help tune. When I get it all set up I will post jets etc...
I am a week behind, hoping to have it running this weekend. Will update with how it goes.
|
|
|
|
Post by santaclaw on Oct 2, 2013 13:55:37 GMT -5
Is there a water channel going through the inlet manifold? Or is it just there to heat up the carburetor? If so can it be blocked off? Or is it simply a matter of making some threads, and putting a hose\pipe between the inlet\utlet of the water channel?
Hm... I think I'd better get a hold of a Injection head if I need to run the water on the outside of the head, because it looks like I'm going for Cncheads, they do excellent work. They do calculations using a flow bench, cnc machining, bigger valves, optimising the flow both, inlet and exhaust... I was hoping I could get them to make the inlet manifold for me, and optimise it/match it to the head at the same time.
On my C20NE 1998cc 8v engine for my Opel GT they increased the inlet flow about 23% and exhaust by 27%....
They make custom camshafts based on the flow bench results for optimal performance, you specify the rpm range you want and they make the cam to fit you:P
|
|
|
|
Post by madmatt on Oct 3, 2013 8:56:03 GMT -5
Yes the coolant jacket starts in the intake manifold of the carbed version, even the thermostat is housed in it. Somebody here had started on doing it, and there was a pic, but I can't find it. His looked good( nice welds), but the inlet tubes were too small I thought for the amount of coolant needed. I don't think the motor ever ran on it... He would have needed to make water manifold to then feed the head...
The valve area is actually pretty good in the Justy (not to say it couldn't be bigger). Certainly compression should go up... and valve springs could be stronger if you want to turn more revs.
There is tons of room for more valve lift! I knocked 1.5 mm of the head, and still didn't touch a 5-6mm wad of putty on the top of the piston checking clearance with my high lift cam.
You could deck the block too, as the piston sits just below the deck, and of course, if you are getting lots of work done... a custom thinner head gasket would be nice. I am using the stock gasket, (1.4 mm compressed) knowing now if it runs well and doesn't ping, I can get a thinner gasket and go to near 11:1 comp.
Oh yeah, if you go back to page 2 of this thread there are some nice pics of the intake...
|
|
|
|
Post by santaclaw on Oct 3, 2013 9:05:08 GMT -5
Hm... after doing a lot of reading, I have concluded that my best bet is to get a complete 1.2 engine with injection..
The engines are completely different and the 1.2 is just a lot better designed..
The next question is if the 1.2 is a shoe in on my 1985 spec gearbox and transmission.
|
|
|
|
Post by madmatt on Oct 5, 2013 10:42:56 GMT -5
sorry, I missed the 1.0l thing. yes they are quite different as far as I know although I have never seen the 1.0 in the flesh, they weren't sent here!
|
|
|
|
Post by santaclaw on Oct 5, 2013 11:32:20 GMT -5
sorry, I missed the 1.0l thing. yes they are quite different as far as I know although I have never seen the 1.0 in the flesh, they weren't sent here! In Norway we got the 1.0 along side the 1.2 FWD or 4x4 from 1984 and onwards.. I just spoke to Dbilas dynamics in Germany, and they can supply me with a cam that should give 8 hp+ on a stock engine, and even more with headers. But, I'm getting a 1.2 with EFI.... |
|
|
|
Post by madmatt on Oct 15, 2013 20:25:36 GMT -5
Update!
IT RUNS!!!!!!!!!!!!!!!!!!!
IT HAS OIL PRESSURE!!!!!!!!!!!!!!!!! 45-50 Lbs!!!!!!!!!!!!!!!!!
Still working on break-in so not much to say about how it runs, but seems good so far!
|
|
|
|
Post by hollandjusty on Oct 18, 2013 13:13:26 GMT -5
Very nice build, congratulations!
|
|
Deleted
Deleted Member
Posts: 0
|
Post by Deleted on Oct 20, 2013 22:48:46 GMT -5
Nice work Matt! You and Magnus shame me. The only thing I have built up on my Justy lately is a thick layer of dust. I am looking forward to seeing pictures of you ripping it up.
|
|


 Is your car an ecvt?