|
|
Post by blacklight on Apr 9, 2013 15:57:37 GMT -5
justyjuggler: NP.  All: Made some progress today, even though I expected my new credit card to arrive today, since I need it to get a PayPal acc so that I can pay for the chain guide, the re-ring kits and the oil pumps to Terry. Anyway; I started to install my oil pressure gauge to the engine block and did some wiring. Here's some pic's. Filter removed. Made sure the block flange were nice and clean and that it weren't damaged.  The setup: The electric sender unit, a combined oil filter tube extender and mounting bolt, and the sensor socket adapter, supporting up to 4 sensors (if I'd wanna go bling bling...  ).  Installation is pretty much straight forward. Unbolt the old filter, add some oil to the rubber seal on the adapter and install the mounting bolt in the middle. Done.  Because the filter was changed only about 200 (metric) miles ago, I reused it.  Don't have a picture of it, but after I was done, I installed a wire about 20 cm long with a weather-proof connector at the end, if I'd need to disconnect the assembly later, and for convenience. I also installed a wire to the car body, and used the speedometer cable grommet for firewall access. After that, my tummy said it's time to head home for dinner and making a small wiring diagram. (Mostly for documentary reasons, but also for anyone else who'd like to install a gauge in the same manner besides eporter123's thread in the "Guides" section). Q: Where would be the best place to take a controlling current (word?) for putting the gauge on only at "On" (running) position of the ignition switch? For convenience, I'm gonna wire the light for the gauge at the same place. //Magnus. |
|
|
|
Post by redfathom on Apr 9, 2013 21:19:41 GMT -5
don't forget to remove that label off of the fitting.
|
|
|
|
Post by blacklight on Apr 18, 2013 7:48:34 GMT -5
Update:
I haven't died, just doesn't have anything much to say.
I got PayPal to work, and the parts are on their way. I've done some cosmetic work on the valve cover (pics come later).
Also, I'd appreciate an A to previous Q.
//Magnus.
|
|
|
|
Post by hippy on Apr 29, 2013 23:14:49 GMT -5
blacklight needs a promotion
|
|
|
|
Post by blacklight on Apr 30, 2013 3:38:36 GMT -5
Hippy: Heh... And why is that?  Update: Got my new chain tensioner a couple of days ago. Now I just need the seal- bearing- gasket- and ring kit from cleggengine. |
|
|
|
Post by blacklight on May 6, 2013 16:17:09 GMT -5
Oh sweet happy day! The rebuild-kits have finally arrived!  However, I should make the following disclaimer: Important! Scrolling further down may cause a severe urge to rebuild your engine. Proceed with caution. Ah! Goodies from Cleggengine.  Unboxed.  Piston ring set.  Gasket set before unpacking. I went head and opened em up, cause I saw some damage to some of the gaskets. I'll explain later.  The crankcase-to-cover gasket were broken upon unpacking. I can however make one of these on my own. Still gonna report it.  All the goodies lined up.  Ah, yes. The very much apparent difference in the intake manifolds shape between the EF-engines for either E- or J-series from Subaru.  Another damaged gasket. Same as before.  Damage intake gasket for the Justy-engine. I suppose this won't pose a problem, as the crack is at the bolt hole? Will report anyway.  Damaged intake gasket for my E-series engine. This however WILL pose a problem since it's located at the coolant passage. :/  Another line-up.  Also, I got the bearing-sets (not pictured). //Magnus. |
|
|
|
Post by blacklight on May 9, 2013 7:28:22 GMT -5
Progress update. I've cleaned the pistons and installed the new piston rings. Not that I know how big a difference it makes, but I positioned the ring gaps at the following positions (12 o'clock is from center to right in between the intake valve reliefs). Top ring: 5 o'clock. Second ring: 7-8 o-clock (ish). Top oil ring: 5 o'clock. Spacer: 10 o'clock. Bottom oil ring: 7-8 o'clock (again, ish).   After that, I honed the cylinders, using white spirit (word taken from google translate) as a lubing and particle flush-out agent. Cylinder 1.  Cylinder 2.  Cylinder 3.  After thoroughly cleaning out the cylinder bores, I put a coat of oil in the entire bore and installed the pistons.   Feeling like a happy puppy waving it's tail, I went ahead and installed the new rod- and main bearings after marking them with their respective position.   I went ahead and installed the crankshaft and torqued the main caps to spec. However, I think my torque wrench is defective, since I turned the rod caps to 35 Nm, then I was going for 40, but it never clicked, so I aborted. Gonna borrow my fathers wrench and check. After that, I slammed my head towards the concrete wall, since I did something I believe is a common mistake; I didn't install the chain or chain guide...  *Sigh* Unbolted the crank main caps, pulled the shaft up enough to get the chain and guide in, and then torqued it again.  Though, the new chain guide have given me some questions... -How much is the chain supposed to play?, and  -How much will it matter that the c-shaped "fork" entering the groove of the balancer shaft actually enters that groove? Pic explaining.  The next road block is the crankcase cover, which I've yet to install a bushing in the oil pump bore and mod the cover. A friend working at a machine shop is gonna help me with this. (Will take pictures, I promise). |
|
|
|
Post by madmatt on May 9, 2013 12:36:12 GMT -5
DANG!
Looking good.
Funny I haven't had time to mention, but we are moving at about the same pace... I'll post some pics of my rebuild over on the Orange rally returns page... I went Orange for the block. It's that dang pic of Ferox's that makes us all drool in envy I think!
Edit add in... What did you get for ring clearances with that set? I honed pretty hard, but not"excessive" and wound up with .016-.020 (top of the bore top ring) .14-.18 at the bottom, pretty open, but I'm not TOO worried...
Matt
|
|
|
|
Post by blacklight on May 9, 2013 13:38:06 GMT -5
Indeed, madmatt. Ferox's engine is about the closest I get to satisfaction late nights nowdays, so to speak... About the ring clearence... Um... I didn't do anything with em. Just installed them carefully and put the pistons in after honing until the cylinder bore was evenly scratched and the very few rust deposits were negligible. Newbie Q: Should I have measured the ring gap clearance before putting the cylinder head on....?  I measured the bore using toe old bores, and the top ring came at 0,40 mm, and the second at 0,65. These readings were even in all 3 cylinder bores and consistent through the entire bore, even where the rings doesn't reach. //Magnus. |
|
|
|
Post by madmatt on May 9, 2013 19:22:26 GMT -5
Okay, if I understand you checked the ring gap before honing? and got .40 mm? about .016 inches... so same or a bit better then me on my good cylinders... I think your block is in better shape I found Dusty's specs and I think they were around .012 inches max. I don't have a Factory Service manual, so just relied on the standard Hastings chart... www.hastingsmfg.com/ServiceTips/ring_gaps.htm and was not too tight so maybe I give up a bit of blow by, but really? It's not a turbo motor so... |
|
|
|
Post by blacklight on May 9, 2013 20:54:31 GMT -5
Madmatt
You are correct. Thing is, I checked it using the old piston rings and broke one of the rings, forcing me to change em all no matter what the reading were. After changing, I rushed the pistons in, without checking the end gap with the new rings.
/Magnus.
|
|
|
|
Post by Armageddous on May 9, 2013 22:15:27 GMT -5
Looks good, that chain tension is fine, once it's moving the slack nearly disappears. The chain guide acts as a retainer for the balance shaft and that's why it fits in the groove.
Did you seal the chain guide to the block? Without a seal in there it is can become a major oil pressure loss. That guide is fed off the main oil rail, if it starts leaking internally, your line pressure drops dramatically.
Terry
|
|
|
|
Post by blacklight on May 10, 2013 6:25:55 GMT -5
Terry. Great. Then I won't have to worry about the chain for a couple of oil changes. Though, the aluminium profile is smaller than the old one (see last pic in previous post) and the "fork" doesn't really enter the groove fully, just by a few mm. This is probably enough, though noted. No, I did not seal it to the block. Looks like another do-again, do-right. Will threadlock work for this? //Magnus. |
|
|
|
Post by Armageddous on May 11, 2013 20:08:55 GMT -5
You need flange sealant, sometimes called anaerobic sealant. It's like really thin silicone that is made for sealing two perfectly flat surfaces without upsetting clearances. (Silicone would be too thick for this). Be sure to clean the surfaces very thoroughly and apply the sealant in a way that when it squishes down it won't block the passages in to the chain guide.
Terry
|
|
|
|
Post by madmatt on May 12, 2013 0:07:06 GMT -5
Dang Terry, Thanks!
I was looking at the back of the tensioner and the oil galleries and thinking, "hmmm this thing is oiled, I wonder how it was originally sealed..."
Matt
|
|
|
|
Post by blacklight on May 12, 2013 10:47:54 GMT -5
Hrm... May a coat of thread-lock do the job? Or do I need to get a tube of real flange sealant?
Anyway, my streak of bad luck during this project doesn't seem to end. I left my crankcase cover with a guy that has an own machine shop, but his son got kicked in the face by a horse this afternoon (jaw cracked in 3 places), so it may be a while before it's finished. Also, pictures will probably be before/after type.
Anyway. Can't do much more without the cover, so I'm gonna focus on getting my driver's side door ready.
//Magnus.
|
|
Deleted
Deleted Member
Posts: 0
|
Post by Deleted on May 12, 2013 12:37:09 GMT -5
Hrm... May a coat of thread-lock do the job? Or do I need to get a tube of real flange sealant? Get real flange/anaerobic sealant. I use it for anything that seals oil because it only seals the contact points that don't have exposure to air. The rest of it stays liquid and washes away, so you get a perfect seal without chunks that break off and potentially clog the sump screen like RTV. For the chain guide this is especially important since the oil holes are so tiny. |
|
|
|
Post by blacklight on May 14, 2013 6:45:40 GMT -5
Small update. Made some cosmetic work on the valve cover.  |
|
Deleted
Deleted Member
Posts: 0
|
Post by Deleted on May 16, 2013 9:19:46 GMT -5
I really enjoy the pictures, thank you for taking the time. Erm.. Tack så mycket.
|
|
|
|
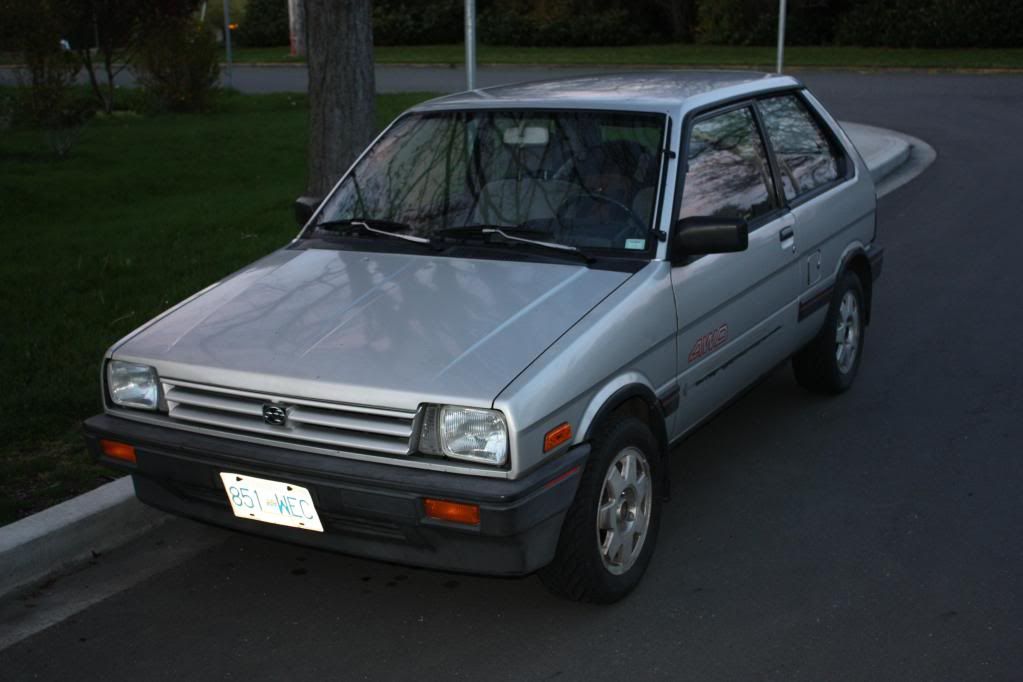
Post by blacklight on May 24, 2013 13:08:29 GMT -5
NP wombatsauce. I enjoy it, and pic's are, as u all forum readers know, a good way to get answer to a question without even having to ask. Thus, the pics. Update: While waiting for my oil pump to be finished, I just wanted to post a pic of a 1 gen Justy I found while I was at my brother's 30th birthday last week. The special about it is the roof... A sun roof! Pic:  Also, I was wondering... Would there be anything at all that would cross-fit between a 1989 (2nd gen) Daihatsu Charade and a 2nd gen Justy? //Magnus. |
|


 ).
).